How to Make Cookies with an Embossed Rolling Pin
All I want for Christmas is a patterned rolling pin. But since I was getting a little impatient waiting for Santa to deliver my Christmas present this year, I just bought it for myself.
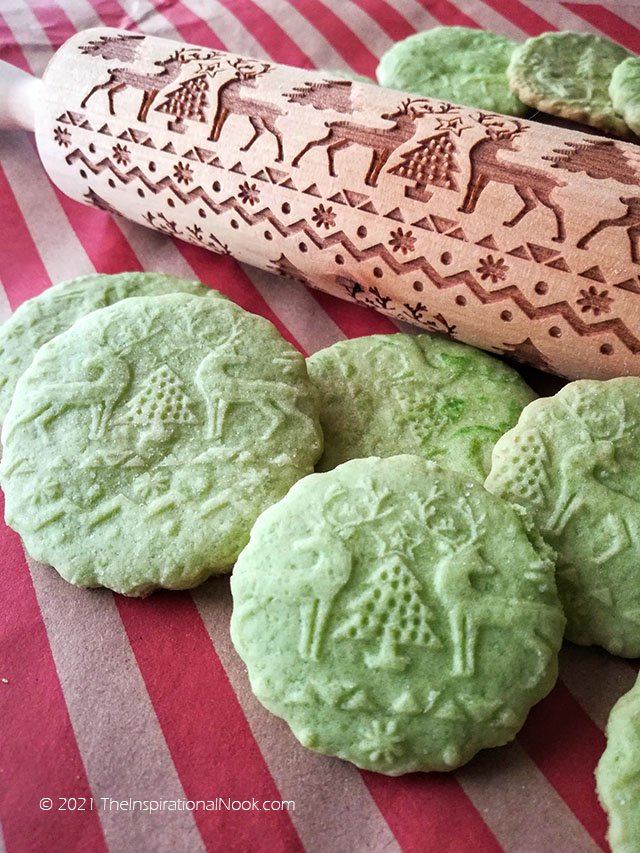 |
| Embossed cookies that I made using my new wooden embossed rolling pin. |
I've actually been eyeing these adorable wooden rolling pins with designs from PastryMade for a while now. They look so artisanal and the concept of patterning a large batch of cookie dough in one fell swoop was very appealing.
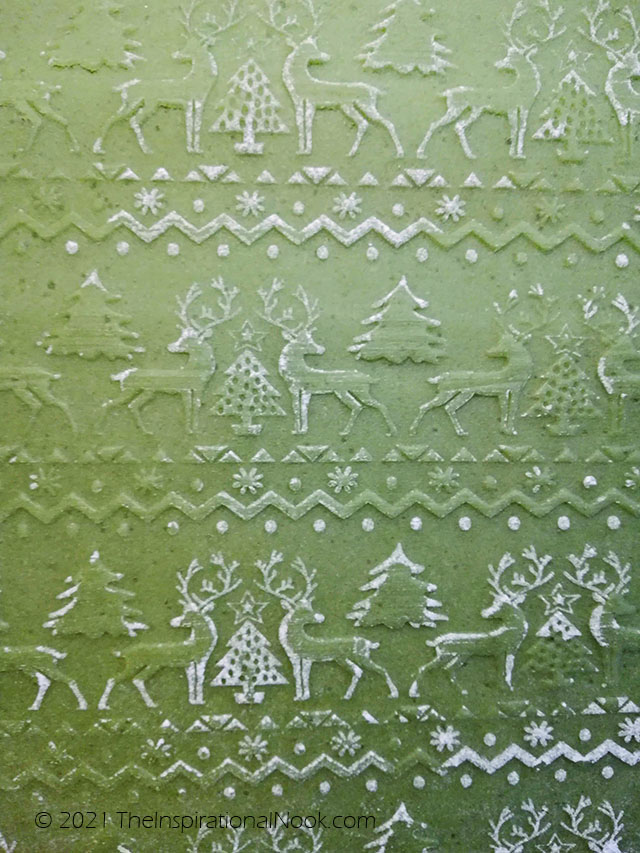 |
| Christmas trees and reindeer pattern imprinted into cookie dough by Christmas Rolling Pin. |
But I've always wondered do embossed rolling pins really work? After some trial and error, I'm happy to report that they absolutely do!
 |
| Unbaked embossed cookies. |
For anyone who is wondering how to use embossed rolling pins, I'm sharing my tips for using patterned rolling pins to make the prettiest, most understated and elegant sugar cookies. Starting with a fail-proof cookie dough recipe and keeping in mind a few tips and tricks to create a beautiful imprint effortlessly, it's easy to make a big batch of embossed cookies using an engraved rolling pin.
 |
| The end result after baking: An embossed sugar cookie. |
Tips for Using an Embossed Rolling Pin
1. Use a good cookie dough recipe
Use a dough recipe that makes a slightly firm-to-the-touch dough which is not sticky. This will prevent the dough from sticking to the grooves in the embossed rolling pin. The cookie dough will also expand and puff up less when baked in the oven, maintaining the design created by the 3d rolling pin. See my recipes below for a 'from-scratch embossed rolling cookie dough recipe' or an 'embossed rolling pin recipe using a store-bought sugar cookie mix like Betty Crocker.'
2. Cool dough before rolling
Chill the dough in the freezer for about 10 minutes before rolling it out with a regular rolling pin.
3. Dust rolling surfaces with flour
Dust your rolling surface generously with flour before rolling out the cookie dough with a regular rolling pin. Dust the regular pin with flour before using to prevent it from sticking to the cookie dough.
 |
| Roll cookie dough with regular rolling pin. |
4. Roll dough evenly and thinly
Try to roll out the dough to an even thickness. Create a fairly thin cookie sheet. The thinner the cookie, the less it will spread and puff up when baked.
5. Dust embossed rolling pin with flour
Before using the embossed rolling pin, dust the embossed rolling pin generously with flour to coat the grooves of the patterned pin. Knock the pin against your hand to dust out any loose flour.
6. Use fair and constant pressure when rolling with embossed rolling pin
Starting at the top of the rolled out cookie dough, slowly and with a fair bit of pressure roll the embossed rolling pin once down the length of the dough.
 |
| Roll dough once over with floured embossed rolling pin. |
Rather than using the handles of the rolling pin, keep both hands firmly placed on the barrel of the engraved rolling pin. Push down firmly with continuous pressure as you roll through the length of the dough. You may need to play with the pressure to ensure you get an even design stamped into the cookie dough.
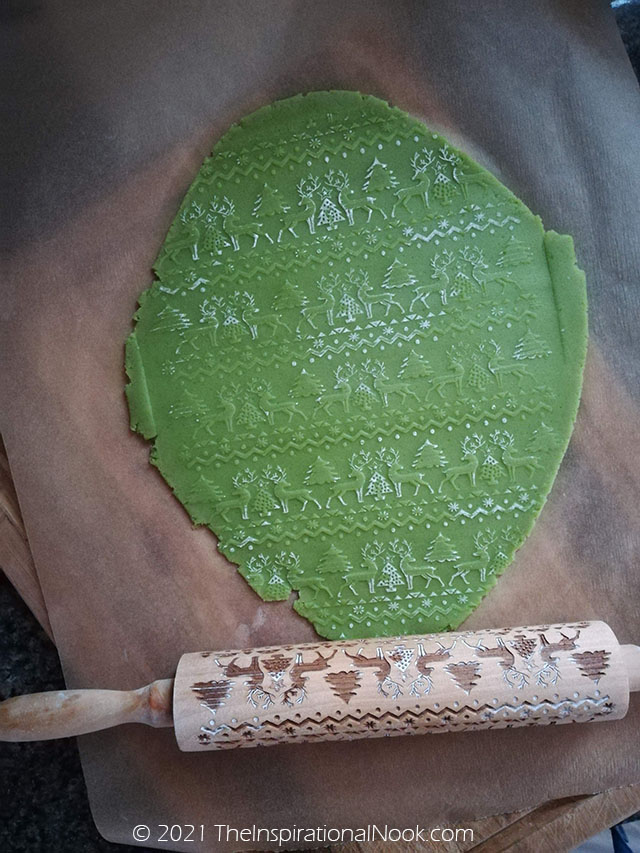 |
| Imprint created by embossed rolling pin. |
Some of the white flour from the grooves of the patterned rolling pin will transfer out onto the pattern. This flour prevents the dough from sticking in the grooves of the embossed rolling pin. Don't worry about it. It won't be noticeable once the cookies bake.
 |
| To prevent dough from sticking in grooves of embossed rolling pin, dust rolling pin with flour before using. |
7. Cool unbaked cookies in freezer before baking
Use a cookie cutter to cut the patterned cookie sheet into cookies.
 |
| Center an appealing pattern within a floured cookie cutter. |
Dusting the cookie cutter with flour before cutting out the shapes ensures clean cuts and shapes that release easily from the cutter.
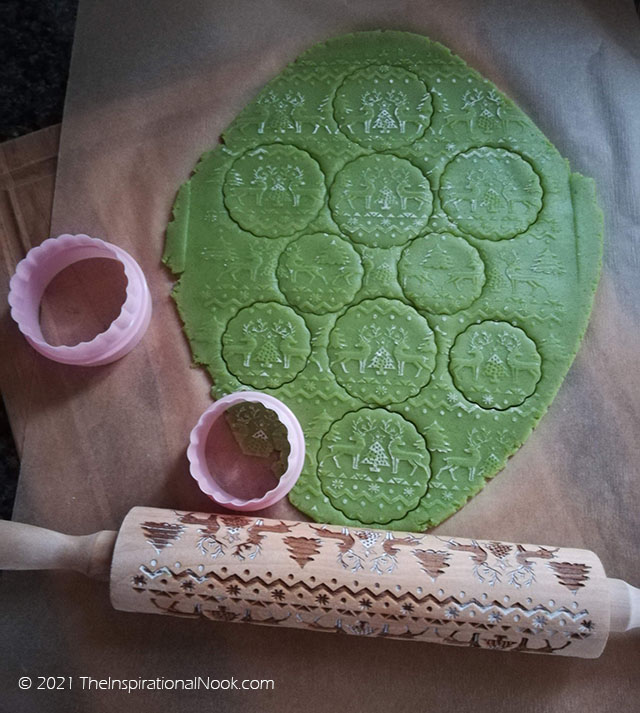 |
| Use cookie cutter to cut shapes into rolled out dough. |
Carefully pull off the outer dough edges and keep it aside to roll out again and make more patterned cookies. Pop the patterned cookies into the freezer for 20 minutes to firm up. Chilling the unbaked cookies allows the fat in the dough to solidify. When baked the cookies won't spread out as much, retaining their embossed patterns.
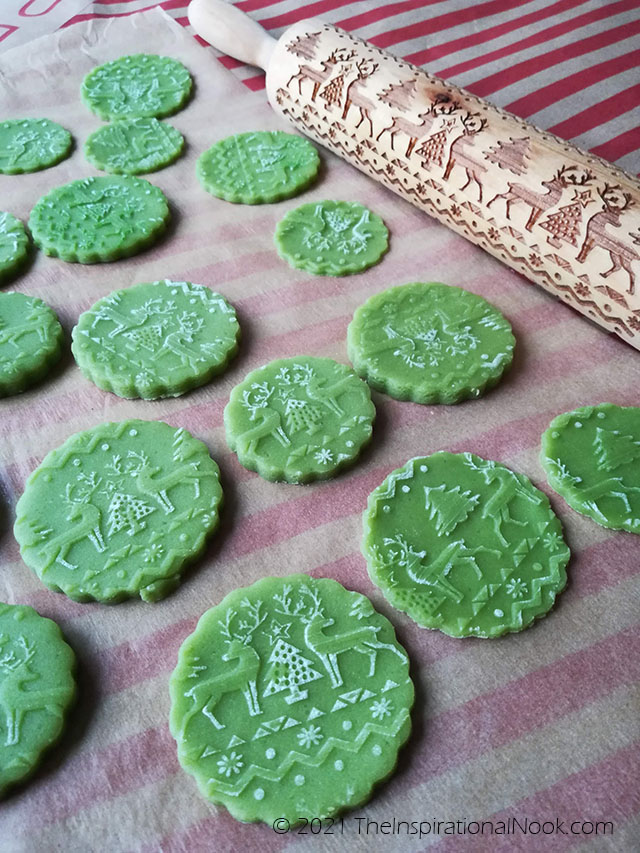 |
| Freeze cookie shapes for 20 minutes before baking in a pre-heated oven. |
8. Bake for a short time
Pre heat the oven to 350°F. Bake the ice-cold cookies on a parchment lined baking tray for 6-10 minutes. The thinner the cookie the less time required in the oven. Keep an eye on the cookies and at the slightest hint of them turning color on the edges, taking them out of the oven and allow them to cool on the baking tray. Don't remove them from the baking tray until they have firmed up and cooled.
 |
| The end result after baking: Light Green Embossed Christmas Sugar cookies |
Embossed Rolling Pin Cookie Recipe (From Scratch)
Recipe adapted from: Sew White
Ingredients
☐ 200 g caster sugar or powdered sugar (1 cup)
☐ 1 egg
☐ 1 tsp vanilla extract
☐ Green food coloring
☐ 400 g plain flour / all purpose flour (2 1/2 cups) plus extra for dusting
Step by Step Instructions
Read "Tips for Using an Embossed Rolling Pin" first before starting. Scroll up to see tips.
Step 1: Make the cookie dough
Cream the flour and sugar together. Add the egg and vanilla extract. Add the flour a little at a time. Add a drop of food coloring and combine to bring the dough together into a soft, firm ball.
Step 2: Chill the dough ball
Cover dough in cling film and place in freezer for 10 minutes to cool the dough.
Step 3: Roll with a regular rolling pin
On a well floured surface, roll the dough into a sheet using a well-floured regular rolling pin. Try to roll out the dough to an even thickness. Create a fairly thin cookie sheet.
Step 4: Roll ONCE with the embossed rolling pin
Dust the embossed rolling pin with flour before starting. Starting at the top of the rolled out cookie dough, slowly and with a fair bit of pressure roll the embossed rolling pin once down the length of the dough to create the pattern.
Step 5: Cut the cookies
Use a cookie cutter or glass to make the cookie cut outs.
Remove the scraps around the cookies to re-roll them to make more cookies.
Step 6: Chill the unbaked cookies
Pop the patterned cookies into the freezer for 20 minutes to firm up.
Pre-heat oven to 350°F.
Step 7: Bake
Bake the ice-cold cookies on a parchment lined baking tray for 6-10 minutes. The thinner the cookie the less time required in the oven. Keep an eye on the cookies and at the slightest hint of them turning color on the edges, taking them out of the oven and allow them to cool on the baking tray. Don't remove them from the baking tray until they have firmed up and cooled.
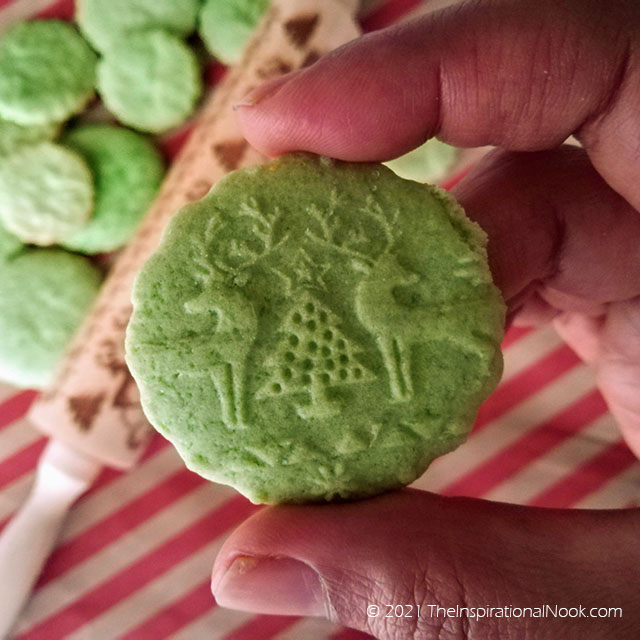 |
| The baked embossed sugar cookie with a beautiful Christmas stamp. |
Embossed Cookie Recipe Using Store Bought Sugar Cookie Mix
If you want to use a store-bought sugar cookie mix like a Betty Crocker cookie mix, you can certainly adapt the mix to create a firmer cookie dough that will roll out well, that will hold the patterned stamp created by the embossed rolling pin and will be dry enough to prevent the dough from sticking to the grooves in the patterned rolling pin.
For a 250g (8oz) sugar cookie mix that calls for the addition of 1 egg and 4 tablespoons of butter, modify the recipe and use only 3 tablespoons of butter. Also add an additional 3 tablespoons of all-purpose flour. This will make a firmer, dryer cookie dough that won't puff and spread much when baked and which will hold the pattern created by the embossed rolling pin well. Be sure to cool the dough in the freezer for 10 minutes before rolling it out. Roll the cookie dough thin before using the embossed rolling pin to create the pattern. After using a cookie cutter to cut the cookies, pop the cookies in the freezer for 30 minutes before baking them in a hot oven at 350°F. Bake for half the time that the instructions on the sugar cookie mix calls for. Remove the cookies from the oven before the edges start turning brown and leave to cool on a rack.
Looking for other cookie recipes? Check out my Almond Wreath Cookies
Or click on the "Sweets and Dessert" label below to see more of my creations.